Home / Wikipedia / 4. Costs and Comparisons / Low Volume Plastic Manufacturing Costs / Twin sheet forming Compared with single sheet forming /
twin sheet forming and single sheet forming are both used on the same kind of plastic parts, and the choice between them changes tooling cost, lead time and the properties of the finished part. The comparison below is the one used when quoting thick gauge work.

The main effects are on wall thickness, cycle time and how much hand work the part needs after forming. On a thick gauge part these three decide the piece price, so the decision taken here shows up in every release afterwards.
| Item | Value |
|---|---|
| Sheet range | 1.5–12 mm for thick gauge work |
| Forming area | up to 3,000 × 2,000 mm |
| Formed tolerance | ±0.5 mm typical |
| Trimmed tolerance | ±0.2 mm on router cut edges |
| Draft angle | 3 degrees minimum, 5 degrees preferred |
| Corner radius | at least 3 × sheet thickness |
| Cycle time | 60–180 s depending on gauge and material |
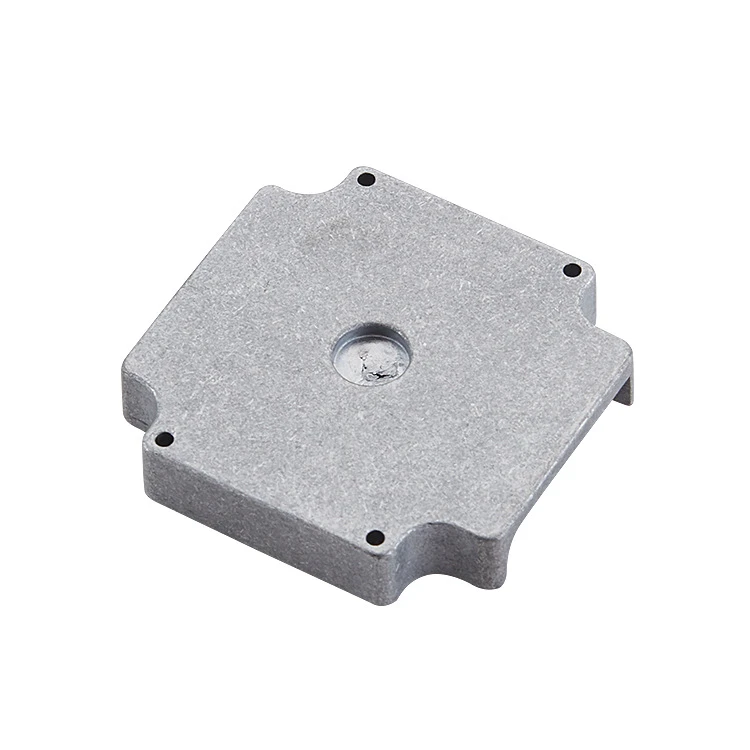
Put the decision on the drawing rather than in an email: state the material and grade, the gauge, the finish, the surfaces that must not carry marks, and the tolerance that applies to the trimmed edges. Where the part has to mate with another component, mark the datum faces so the trim fixture and the inspection report use the same reference. A drawing that states these points removes most of the questions that otherwise surface during sampling.
Yes. Decisions taken at drawing stage move the tooling cost more than any later change, which is why the manufacturability review is done before the tool is cut.
A 3D file, the material if it is fixed, the annual quantity and the finish. With those the answer comes back with a recommended route and a quotation.
Send the 3D file or drawing with your quantity — manufacturability review and quotation within 24 hours.

Leave a Message